Setup Guides · June 22, 2026
GnuCash is a free, open-source accounting platform available for Windows, MacOS and Linux. This guide follows the setup wizard from start to finish, including the optional PostgreSQL database.
Requirements: Install GnuCash
The wizard's first step, Connect GnuCash › Requirements, asks for one thing:
Install the GnuCash desktop application. Your transactions will be written into a GnuCash database.
Download GnuCash from gnucash.org and install it.
Linux: check the libdbi drivers. GnuCash reads books like Acceby's through libdbi, and Linux packages commonly list its drivers as optional rather than installing them for you. You need the SQLite driver, plus the PostgreSQL one if you take the Advanced route later. Check what your package manager lists as optional for GnuCash and install them alongside it. The Windows and macOS installers include the drivers already.
Database: Your Book Of Transactions
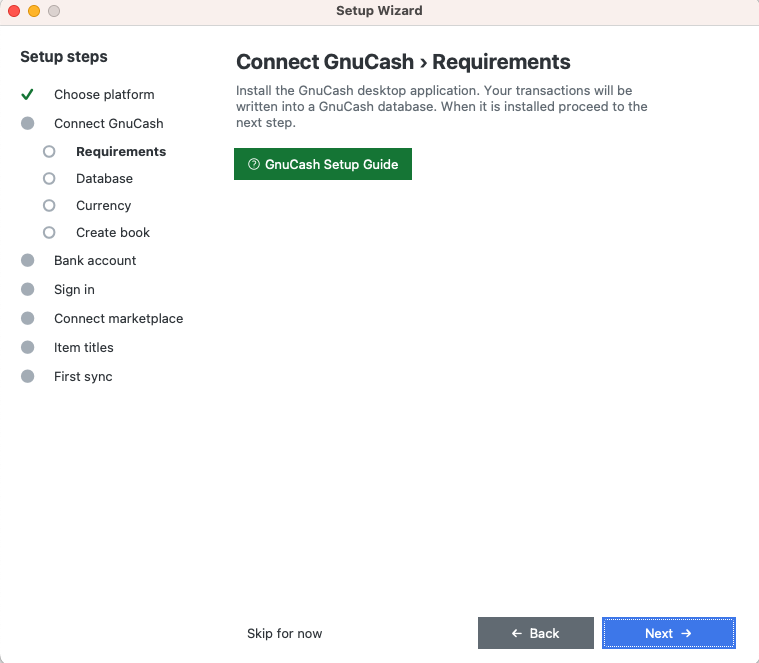
Connect GnuCash › Database asks where your transactions should be stored:
There are two options:
- SQLite (Default): your book is a single file on your own computer.
- PostgreSQL (Advanced): connect to a PostgreSQL server.
SQLite is the recommended option. Your book is a single ordinary file that GnuCash opens directly, with no server involved. PostgreSQL is there if you already run a server and would rather use it.
Currency: Choose Your Book Currency
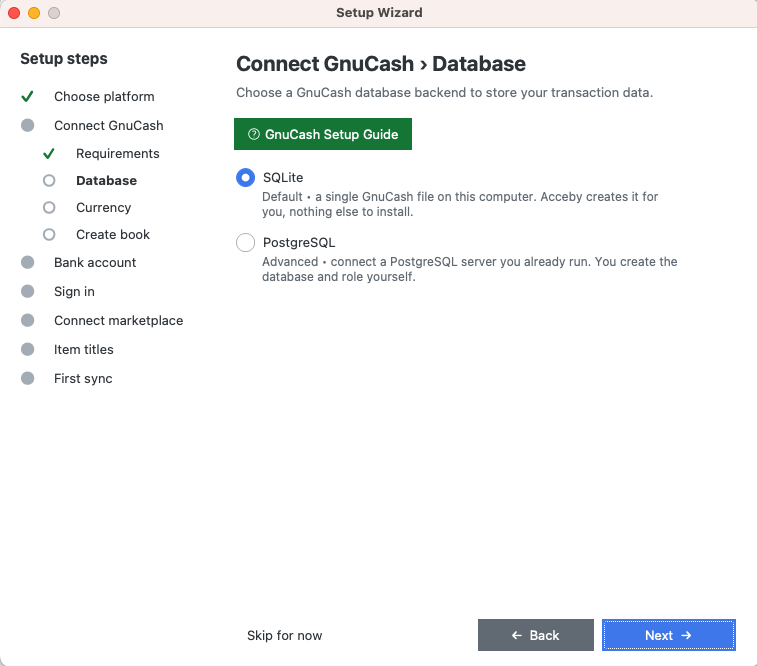
Next is Connect GnuCash › Currency. Pick the currency that matches the region you sell in.
Your choice here sets the currency of the accounts Acceby creates, and every transaction it syncs is recorded against those accounts.
If you later sell in a second currency, you can add another book for it. Acceby uses one book at a time, so the currency you choose here is the one your accounts will use.
It also decides which marketplace regions you can connect later in the wizard, since Acceby offers only the ones matching your book currency.
Create Your Book
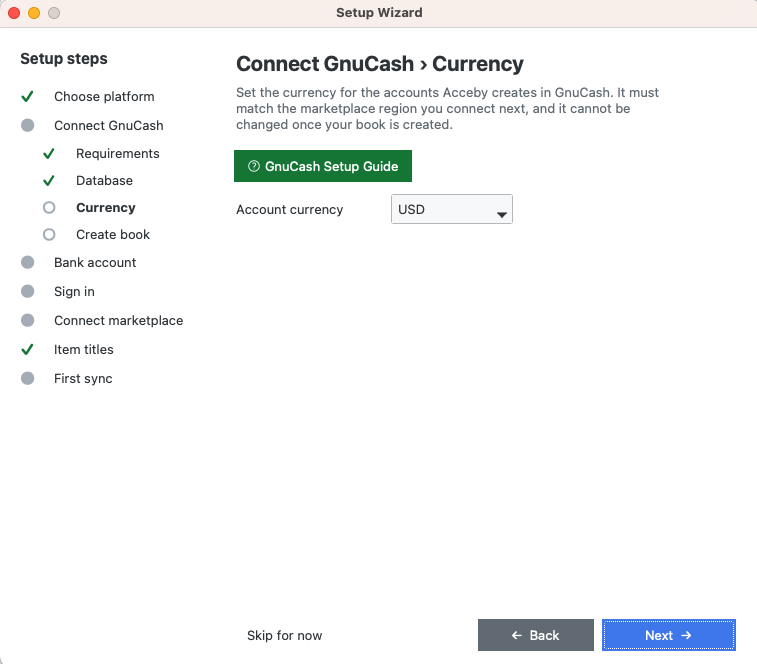
On the SQLite route the next screen is Connect GnuCash › Create your book. It shows a location and a single button.
- Default location:
~/Acceby/acceby.gnucash, which on Windows isC:\Users\<name>\Acceby\ - Button: Create my book
Click Create my book and Acceby's side of the setup is done.
Open the Book in GnuCash
Acceby creates the book file and writes into it, but it can't tell GnuCash desktop about it. Opening it there is a separate job, and you only have to do it once:
- Start GnuCash. If the Welcome to GnuCash! dialog appears, click Cancel. You already have a book, and you don't want to create a second one.
- Choose File › Open.
- Set Data Format to file.
- Browse to
~/Acceby/acceby.gnucashand click Open.
GnuCash remembers the book and reopens it next time you start, so this is a one-off.
Close the book in GnuCash before you sync. GnuCash locks a book while it's open, and Acceby can't write to a locked book. If you forget, Acceby tells you to close GnuCash and nothing is harmed.
Change… lets you save the book somewhere else. Avoid folders managed by Dropbox, iCloud Drive or OneDrive, as a sync client writing to the file underneath GnuCash can corrupt it.
Bank Account: Name Your Payout Account
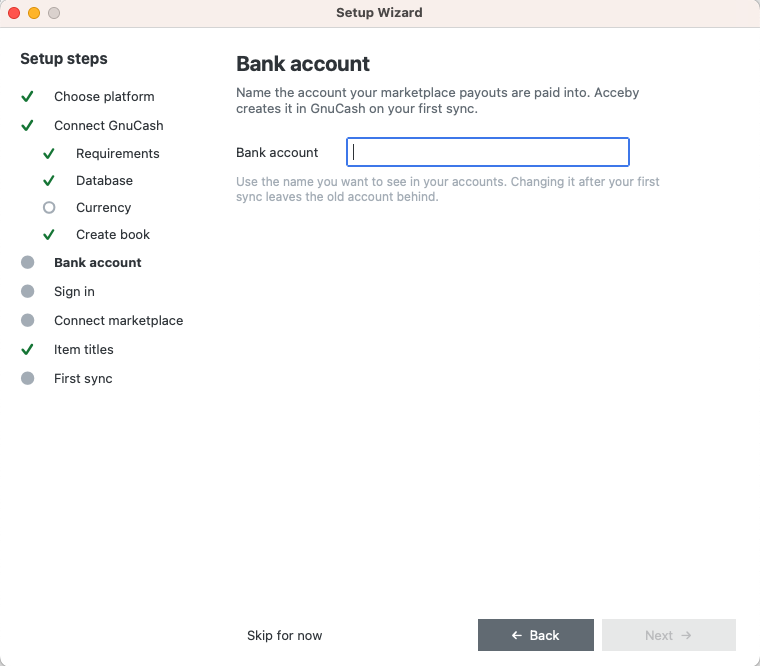
Next is Bank account, a step of its own once Connect GnuCash is done:
Name the account your marketplace payouts are paid into. Acceby creates it in GnuCash on your first sync.
Type the name you want to see in GnuCash. Something like "Marketplace Payouts", or the name of the bank the money actually lands in. Acceby adds it to your account tree under Bank, using the name you chose, and it does that on your first sync rather than when the book is created, so don't be concerned when it isn't there yet.
The field is required. Nothing syncs while it's blank.
Choose a name you're happy to keep. Renaming it later leaves the old account behind with its transactions still in it, because Acceby only ever adds accounts, it never renames them. You'd have to tidy that up yourself in GnuCash.
After Setup
That's the GnuCash half of the wizard finished. The wizard carries on with signing in and connecting your marketplace. An Acceby account is free, and you'll need one before the marketplace step, though GnuCash setup itself doesn't require it.
If you need to change any of these details later, they live under Settings › GnuCash in the app. The wizard is only for your first run. For a tour of what comes next, including scheduled syncs and reports, read the getting started guide.
Advanced: Use an Existing PostgreSQL Server
SQLite is the recommended option, and if you chose it you're finished. This section is for the Advanced route, and covers setting up PostgreSQL for GnuCash.
Choosing PostgreSQL (Advanced) on the Database step takes you, after the Currency step, to Connect GnuCash › PostgreSQL in place of Create your book:
Connect a PostgreSQL database. See the setup guide for details on how to create the role and database.
Create the Role and Database
Acceby doesn't create these for you, and it never asks for a superuser login. Run these three statements once in psql, connected as a superuser, replacing the placeholder password with one of your own:
CREATE DATABASE acceby_accounting;
CREATE ROLE acceby_user WITH LOGIN PASSWORD 'choose-a-password';
GRANT ALL PRIVILEGES ON DATABASE acceby_accounting TO acceby_user;
Keep that password. You'll enter it twice: once in Acceby, and again in GnuCash.
Now fill in the wizard's PostgreSQL step. The host is localhost, the port 5432, the database acceby_accounting, the user (role) acceby_user, and the password is the one you just chose.
Use a new database. GnuCash's SQL backend is still considered experimental, and pointing it at an existing book risks data loss. Back it up first if you do.
Open the Database in GnuCash
Connecting Acceby doesn't connect GnuCash, so open the database there yourself. Start GnuCash, click Cancel if the Welcome to GnuCash! dialog appears, then choose File › Open, set Data Format to postgres, enter the same connection details and click Open.
Close the book in GnuCash before running a sync, exactly as on the SQLite route.
macOS and Postgres.app
On macOS with Postgres.app, the first connection usually fails like this:
GnuCash database connection failed: connection to server at "localhost" (::1),
port 5432 failed: FATAL: Postgres.app rejected "trust" authentication
DETAIL: Unknown processes are not allowed to connect without a password.
HINT:  Change pg_hba.conf to require a password
It reads like a password problem, but it isn't. Postgres.app ships with trust authentication on local connections, which tells the server to ignore passwords entirely, and it then refuses trust connections from applications it doesn't recognise. That happens before your role and password are ever checked, which is why it appears even before you've created anything.
The fix is to turn on password authentication, which is how PostgreSQL is normally set up anyway: Linux, Windows and Homebrew installs already default to scram-sha-256 or md5. Work through the following in order.
1. Start the server. Install Postgres.app, open it once and click Initialize, so the server is running and shows green.
2. Set a superuser password. A fresh Postgres.app has no superuser password. You aren't looking one up, you're creating it. Double-click the postgres database to open a psql window, then run:
ALTER ROLE postgres PASSWORD 'choose-an-admin-password';
Do this before step 3 or you'll lock yourself out. Keep the window open.
3. Switch off trust authentication. First find the file, in that same psql window:
SHOW hba_file;
It prints a path like this one:
/Users/<you>/Library/Application Support/Postgres/var-17/pg_hba.conf
The version number varies, so read it from the output rather than guessing.
Then open it. The Library folder in your home directory is hidden in Finder, so browsing to it won't work. Either run this, which opens the file in TextEdit:
open -e "$(psql -U postgres -tAc 'SHOW hba_file')"
or press ⇧⌘G in Finder (Go › Go to Folder), paste in the folder path and press Return. You don't need sudo: Postgres.app runs as you, and the file belongs to you.
Now edit it. The rules sit at the bottom of the file, under the header line shown below. Everything above them is comments. You're looking for three lines like these:
# TYPE  DATABASE  USER  ADDRESS  METHOD
local   all   all                  trust
host    all   all   127.0.0.1/32   trust
host    all   all   ::1/128        trust
Change the last word on each to scram-sha-256:
local   all   all                  scram-sha-256
host    all   all   127.0.0.1/32   scram-sha-256
host    all   all   ::1/128        scram-sha-256
Change nothing else, and leave the comment lines alone. Save with ⌘S.
Finally, reload the server and check the change took:
psql -U postgres -c "SELECT pg_reload_conf();"
psql -U postgres -h localhost
The second command must now prompt you for a password. If it connects straight through, the edit hasn't taken effect: either a different file was edited, or the reload didn't happen.
Locked out? If you skipped step 2 and can't connect, set those three lines back to trust, restart the server with Postgres.app's stop and start buttons, then do steps 2 and 3 in that order.
4. Create the role and database with the three statements above, then enter the connection details on the wizard's Connect GnuCash › PostgreSQL step.
If Something Goes Wrong
Most questions are answered on the FAQ page. If you're stuck on a step here, contact support and tell us which screen you're on. That's usually all we need to sort it out.